OS X Mavericks Server - Setting Up FreeRADIUS
In the past year or so I’ve done a few more deployments using OS X Server’s inbuilt FreeRADIUS server for authentication via enterprise Wi-Fi base-stations and routers. While OS X Server will automatically configure RADIUS for AirPort base-stations, there’s no way via the Server GUI to configure third-party authenticators.
My buddy Jedda wrote an excellent article last year on configuring RADIUS for 10.8 Server, but in Mavericks Server, things have changed slightly. FreeRADIUS has been updated from 2.1.12 to 2.2.0 and all the configuration files have been moved from /etc/raddb to /Library/Server/radius/raddb.
First off, we will need to add the user to the RADIUS access group, which is called com.apple.access_radius. Any user that will authenticate through RADIUS must be added to this group.
dseditgroup -q -o create -u <admin_user> -a <your_username> -n . com.apple.access_radius
For example, as I’m doing this on the same server as the FreeRADIUS server, I’m going to add my Server Administrator user (serveradmin) to the RADIUS access group. I entered the command below:
dseditgroup -q -o create -u serveradmin -a serveradmin -n . com.apple.access_radius
Okay, now onto the proper configuration. Lets start by changing a few RADIUS settings so we can get some more verbosity in the logs regarding authentication attempts. By default, RADIUS does not log authentication requests, let’s change that. By entering the following command, radiusconfig changes a variable in the /Library/Server/radius/raddb/radiusd.conf to now log authentication requests.
sudo radiusconfig -setconfig auth yes
Note: for the curious, radiusconfig’s location is /Applications/Server.app/Contents/ServerRoot/usr/sbin/radiusconfig.
Next, we’ll enter a command to log bad authentication requests. This also changes a variable in the above file, it’s a few lines further down in the config file.
sudo radiusconfig -setconfig auth_badpass yes
Now, let’s also log successful authentication requests:
sudo radiusconfig -setconfig auth_goodpass yes
It’s now time to add a client to the RADIUS server. Any device that directly communicates with the RADIUS server must first be added to a list before it’s allowed to start processing requests. The structure of the command is as follows:
sudo radiusconfig -addclient ip_address identifier nas_type
For example, if your Wi-Fi base-station allows RADIUS authentication, you can use it to be an authenticator for your RADIUS server. First of all, your Wi-Fi base-station must have a static IP address on the network, because as I mentioned earlier, each device must be manually defined before it’s allowed to authenticate to the RADIUS server. Next up, the identifier is a way you can easily identify the Network Access Server (NAS), and must be unique it is used in Access-Request packets. The RFC recommends using the FQDN for the identifier. Finally, we specify the NAS Type. Typically you would use other unless you have a special device that uses another NAS Type. You can review /Library/Server/radius/raddb/clients.conf to see if you need to use another NAS Type identifier.
Bearing all that in mind, let’s set up a client for the network. Pretend that you have an Aerohive AP that can be used to authenticate users that connect to a WPA2 Enterprise wireless network. The Aerohive AP 330 sits on the network at 10.1.125.150 and has an A record for aerohive.pretendco.com. As this device doesn’t have a special identifier that’s required by RADIUS we will use other. With all these details, let’s add the client using radiusconfig:
sudo radiusconfig -addclient 10.1.125.150 aerohive.pretendco.com other
You’ll now be asked to provide a shared secret that is used to encrypt packets sent between the NAS and the RADIUS server with md5. Best to use an app like 1Password to generate a random alphanumeric shared secret. Make sure you save this shared secret, because you’ll need to give it to the Aerohive later on so it can communicate with the RADIUS server. Once you provide the shared secret, hit Return. You should get the following message:
10.1.125.150 added to the nas list
Hooray, the Aerohive has been added to the NAS list! Now, we need to give the RADIUS server a real certificate. When RADIUS is run for the first time it will automatically generate a self-signed certificate that it uses to provide security to users. This is okay if you’re testing RADIUS, but in a live environment, you should really be providing your own certificate that is signed by a known Certificate Authority (CA). You can get SSL certificates from a number of providers, check out Namecheap for great value SSL certificates. As this article is about configuring RADIUS, I’m going to assume your certificate is signed by a globally recognised Certificate Authority.
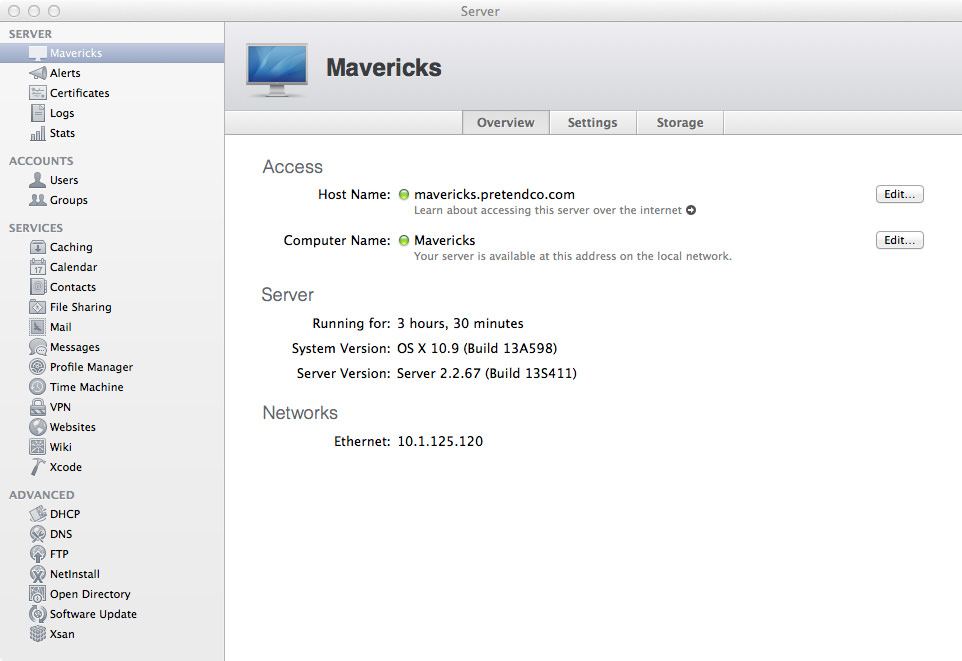
Open up Keychain Access then on the left-side click on the System keychain. Scroll down the list until you find the certificate and private key with your FQDN. For example, the server I’ve been using in these articles has a FQDN of mavericks.pretendco.com, using the command key I’ll click on the certificate and private key that’s called mavericks.pretendco.com. Now, go to File, then click on Export Items…"
Save the file as a Personal Information Exchange (.p12) on the Desktop called RADIUS. You’ll now be asked to authenticate to unlock the System keychain. Next, enter in a password that will be used to secure the certificate and private key file. For this example, I’m using server but please never use this in production environments! Enter the password twice then hit OK. Your RADIUS.p12 will now be available on the Desktop.
Jump back to Terminal because we’re now going to export these into the certs folder in raddb. We first need to export the private key as a .key. Enter the following command to replace the default .key with our own. Make sure you have that password you used to encrypt the exported items handy as you’ll have to enter it for the next two commands.
sudo openssl pkcs12 -in ~/Desktop/RADIUS.p12 -out /Library/Server/radius/raddb/certs/server.key -nodes -nocerts
Enter in the password for the .p12, then hit Return. Now, we will export the certificate, and override the default one in the process.
sudo openssl pkcs12 -in ~/Desktop/RADIUS.p12 -out /Library/Server/radius/raddb/certs/server.crt -nodes -nokeys
Like the last command, enter the password for the .p12 then hit Return. Now, using Terminal lets change directory to certs folder by entering the following command:
cd /Library/Server/radius/raddb/certs
We’re now going to validate that the modulus of both the private key and certificate are the same to ensure we have the right certificates, and to ensure that they are for the same matched pair. Enter in the following command to get the modulus of the certificate:
openssl x509 -noout -modulus -in server.crt | openssl md5
This will echo out an md5 hash of the modulus of the certificate. Now enter:
openssl rsa -noout -modulus -in server.key | openssl md5
Another md5 hash of the private key’s modulus will be echoed. Here’s the md5 hash of both my private key and certificate
222b9f6176126d06872c56809a0ef34b # server.crt
222b9f6176126d06872c56809a0ef34b # server.key
Check the numbers to ensure they match, because if they don’t you have the wrong certificate and private keys! After ensuring that the modulus’ match, we will now configure RADIUS to use our supplied certificates. Enter the following command into Terminal:
radiusconfig -installcerts /Library/Server/radius/raddb/certs/server.key /Library/Server/radius/raddb/certs/server.crt
Note that the private key must come before the certificate, otherwise the command won’t work. The RADIUS server will now generate a random and dh file (very important for the RADIUS server) and should only take up to 10 seconds to complete. Once that has completed, we’re now ready to test the RADIUS server! We’re first going to start FreeRADIUS in debug mode to ensure it’s starting correctly.
radiusd -X
The FreeRADIUS server will start up within seconds and the last line you should see in your Terminal prompt is Ready to process requests.. Great, it’s now running happily. Terminate the process by hitting Ctrl+C (^C) and we’ll get the FreeRADIUS server setup with launchd so it’ll start every time the server is rebooted.
sudo radiusconfig -start
This’ll add the org.freeradius.radiusd.plist (which is located in: /Applications/Server.app/Contents/ServerRoot/System/Library/LaunchDaemons/org.freeradius.radiusd.plist) to launchd. Let’s now test it out via Terminal to make sure we can communicate with the FreeRADIUS server. Our command structure is as follows:
echo "User-Name=<username>,User-Password=<password>,Framed-Protocol=PPP " | radclient -x -r 1 -t 2 localhost:1812 auth testing123
We have to pipe in a few authentication details to radclient, then provide the details for the RADIUS server. If you’re running this on the same machine as the FreeRADIUS server, your shared secret is testing123. I will enter the following settings to test on my server:
echo "User-Name=serveradmin,User-Password=serverpass,Framed-Protocol=PPP " | radclient -x -r 1 -t 2 localhost:1812 auth testing123
You should see the following result:
Sending Access-Request of id 220 to 127.0.0.1 port 1812
    User-Name = "serveradmin"
    User-Password = "serverpass"
    Framed-Protocol = PPP
rad_recv: Access-Accept packet from host 127.0.0.1 port 1812, id=220, length=32
    Framed-Protocol = PPP
    Framed-Compression = Van-Jacobson-TCP-IP
That’s it! The last thing we’ll do is allow Console to display the radiusd.log so we can read it. For the last time, jump in to Terminal and enter the following command:
chmod -R 755 /var/log/radius
Open up Terminal and now you can view the radiusd.log! Use it to troubleshoot any issues you may have.
Well, you’re all done now. You have configured a FreeRADIUS server, and it can process requests successfully, along with authenticating the allowed users.