No mountable file systems
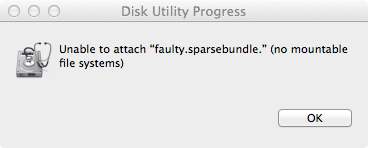
Recently I had an issue where a friends Legacy FileVault sparsebundle became corrupt when they upgraded to OS X Mavericks. Whenever they logged in and tried to mount their home-foldered sparsebundle, the error “No mountable file systems” would appear. Even cloning the sparsebundle and trying on another computer resulted in the same problem. My initial thoughts are “Shittt… all the data is gone”, but I know that just because I get a generic error message, doesn’t mean I can’t fiddle around and get it working again. Here are the steps I followed to mount the “corrupt” sparsebundle and recover all the data in the process.
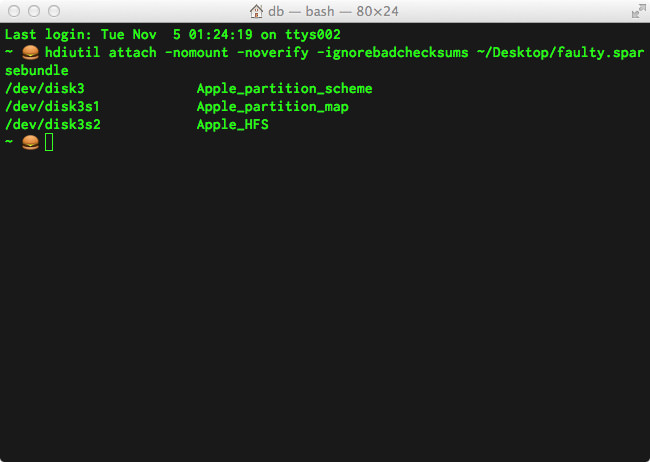
First up, as you would have tried, mounting the sparsebundle through DiskImageMounter.app doesn’t work. Never fear, the command line is here! Using the hdiutil command in Terminal, we can attach the sparsebundle to the filesystem without actually mounting it. We’ll also add a few flags to tell hdiutil that we don’t want to verify or check the checksums of the image (which are probably causing it to fail mounting in the first place). Here’s my final command to attach the sparsebundle to Mac OS X:
hdiutil attach -nomount -noverify -ignorebadchecksums /path/to/faulty.sparsebundle
After a few seconds you’ll get prompted to enter the password to unlock the sparsebundle (if it’s encrypted) and then it’ll be attached to OS X. You’ll get a list of the BSD /dev node along with with the human-readable GUID of the partition (do man hdiutil to find out what I mean). Here’s the output of when I mount my faulty.sparsebundle:
/dev/disk3     Apple_partition_scheme
/dev/disk3s1   Apple_partition_map
/dev/disk3s2   Apple_HFS
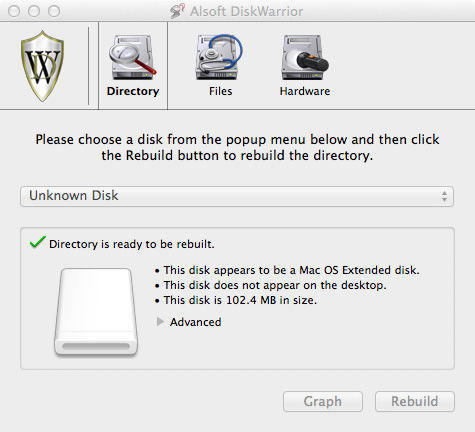
Okay, now that the sparsebundle has been attached to OS X, it’s time to open one of my favourite programs of all time: DiskWarrior. fsck_hfs just doesn’t cut it, but DiskWarrior will often always work its beautiful magic and get drives mounting for me again. Once you’ve got DiskWarrior open, it’s time to repair the disk! The attached volume is very likely called “Unknown Disk”, just select the one that’s most likely to be your attached sparsebundle.
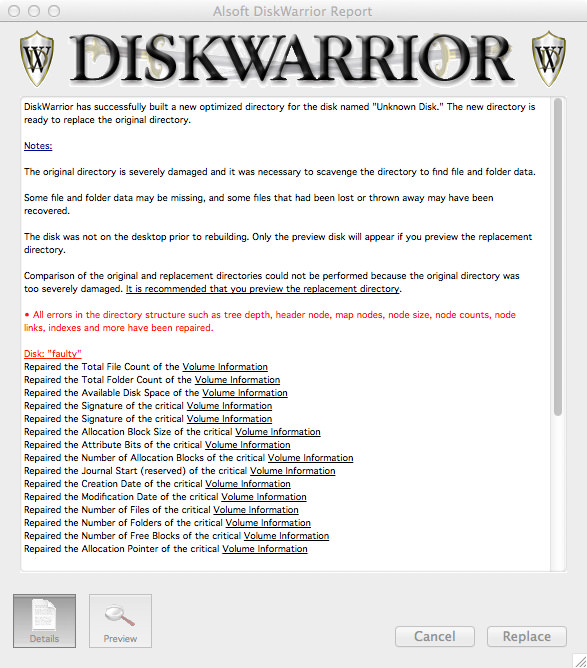
Now, in my friends case, doing a “Scavenge” rebuild and repair in DiskWarrior would recover only a few files, but doing a normal rebuild would recover all the files. I would normally try doing a normal rebuild first and checking the preview, it’s really trial and error. Go ahead and click Rebuild then wait until DiskWarrior has finished and shows you the Rebuild Report. Instead of clicking Replace, we’ll go ahead and click Preview.
Jump back to the Finder and open up the Previewed ‘faulty’ volume, or list the contents of the volume in Terminal:
ls -la /Volumes/faulty/
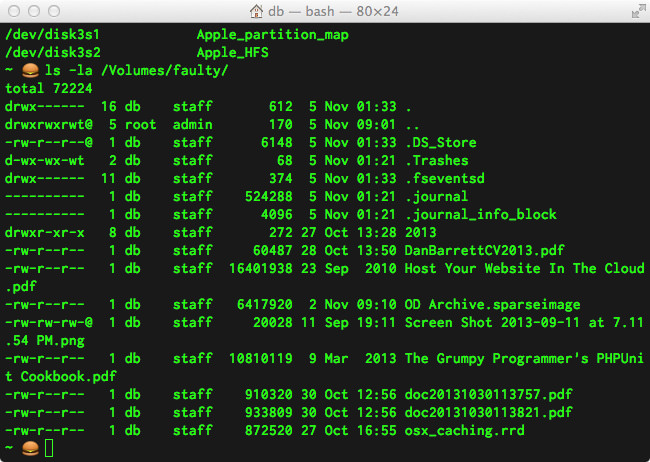
You should now see all of your stuff! I would now ditto, rsync, cp, or Carbon Copy Clone all of your files out of that sparsebundle ASAP (and avoid using Legacy FileVault ever again). Hopefully this has helped you (or someone you know) recover your precious data from a corrupted sparsebundle (or Legacy FileVault disk image).